Nothing beats gathering outdoors with family and friends, sharing a meal, and enjoying fresh air. But what if your picnic table could also keep your drinks cool and refreshing? In this DIY guide, I’ll show you how to build a picnic table with a built-in cooler, combining style and function for the ultimate backyard upgrade!
🛠️ Materials & Tools Needed
Before we jump in, gather these supplies to make the process smooth and enjoyable.

Materials:
-
Pressure-treated lumber (2×6 and 2×4 boards)
-
Galvanized screws or bolts
-
Hinges (for the cooler lid)
-
Plastic storage bin (for the cooler insert)
-
Wood glue & waterproof sealant
-
Sandpaper
-
Stain or paint (optional)
Tools:
-
Power drill
-
Saw (circular or miter saw)
-
Measuring tape
-
Level
-
Clamps
-
Safety glasses & gloves
📏 Step-by-Step Picnic Table Plans
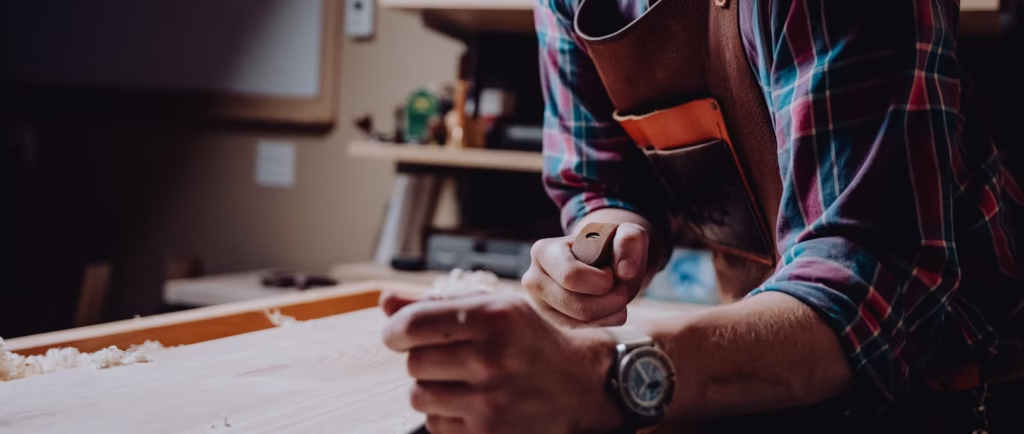
Step 1: Cut Your Lumber

Using a saw, cut your tabletop planks, legs, and support beams according to your preferred size. A standard picnic table is 6 feet long and 30 inches wide, but feel free to adjust it to fit your space!
Step 2: Assemble the Tabletop

-
Lay out the tabletop planks side by side.
-
Leave a space in the center where the cooler will be installed.
-
Secure the planks with cross braces using screws and wood glue.
Step 3: Install the Built-in Cooler

-
Measure and cut a rectangular opening in the center of the tabletop (big enough to fit your cooler insert snugly).
-
Place the plastic storage bin inside the cutout and secure it.
-
Attach hinges to a wooden plank to serve as a lid covering the cooler when not in use.
Step 4: Attach the Table Legs and Supports

-
Position the table legs at an angle for stability.
-
Secure them with bolts or screws.
-
Add diagonal supports between the legs for extra strength.
Step 5: Sand, Seal, and Finish

-
Smooth all edges with sandpaper to prevent splinters.
-
Apply a waterproof sealant or stain to protect the wood from weather damage.
-
Let it dry completely before using.
📸 Styling & Using Your New Picnic Table
Now that you’ve built your DIY picnic table, it’s time to enjoy it! Here are some creative ways to make the most of your new backyard centerpiece:
-
🌿 Add string lights for cozy outdoor dinners.
-
🍉 Use the built-in cooler for summer drinks, fruits, or ice-cold beverages.
-
🎨 Personalize it with a pop of color or stenciled designs.
❓ FAQ – Frequently Asked Questions
1. How long does it take to build a picnic table?
If you have the right tools and materials ready, this DIY project can take 4 to 6 hours to complete.
2. Can I make this a low picnic table for kids?
Yes! Simply shorten the legs and adjust the width for a kid-friendly version.
3. What type of wood is best for a picnic table?
Pressure-treated lumber is the best choice since it resists weather damage and lasts longer.
4. How do I maintain my wooden picnic table?
Reapply sealant or waterproof finish every year to prevent moisture damage and extend its life.
5. Can I remove the cooler insert?
Yes! The cooler bin is removable, making it easy to clean and store when not in use.
🎉 Conclusion
Building your own DIY picnic table with a hidden cooler is a fun and rewarding project that will transform your outdoor space. Whether you’re hosting a summer BBQ, a family game night, or a casual picnic, this table is sure to be a conversation starter! 🔨✨
Ready to build yours? Save this guide and start your project today! 🚀