- Introduction
- Top Questions & Pain Points
- Project Outline (5–7 Main Steps)
- Step-by-Step Instructions
- Troubleshooting & Common Mistakes
- FAQs
- Next Steps & Advanced Techniques
- Glossary of Terms
- Recommended Visual Aids
- Conclusion
Introduction
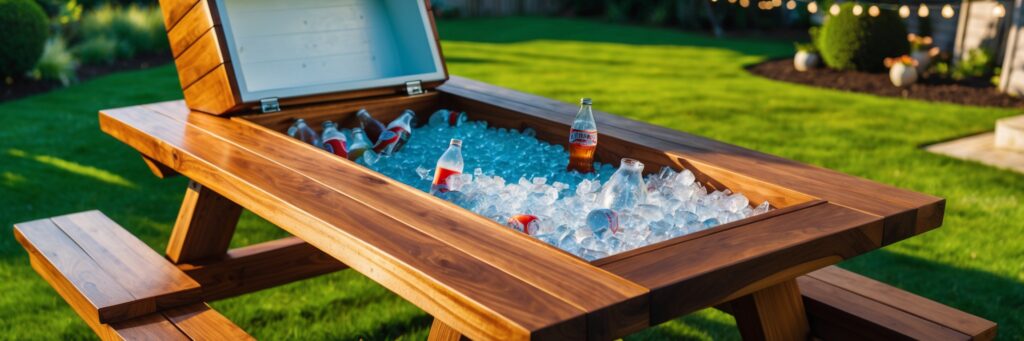
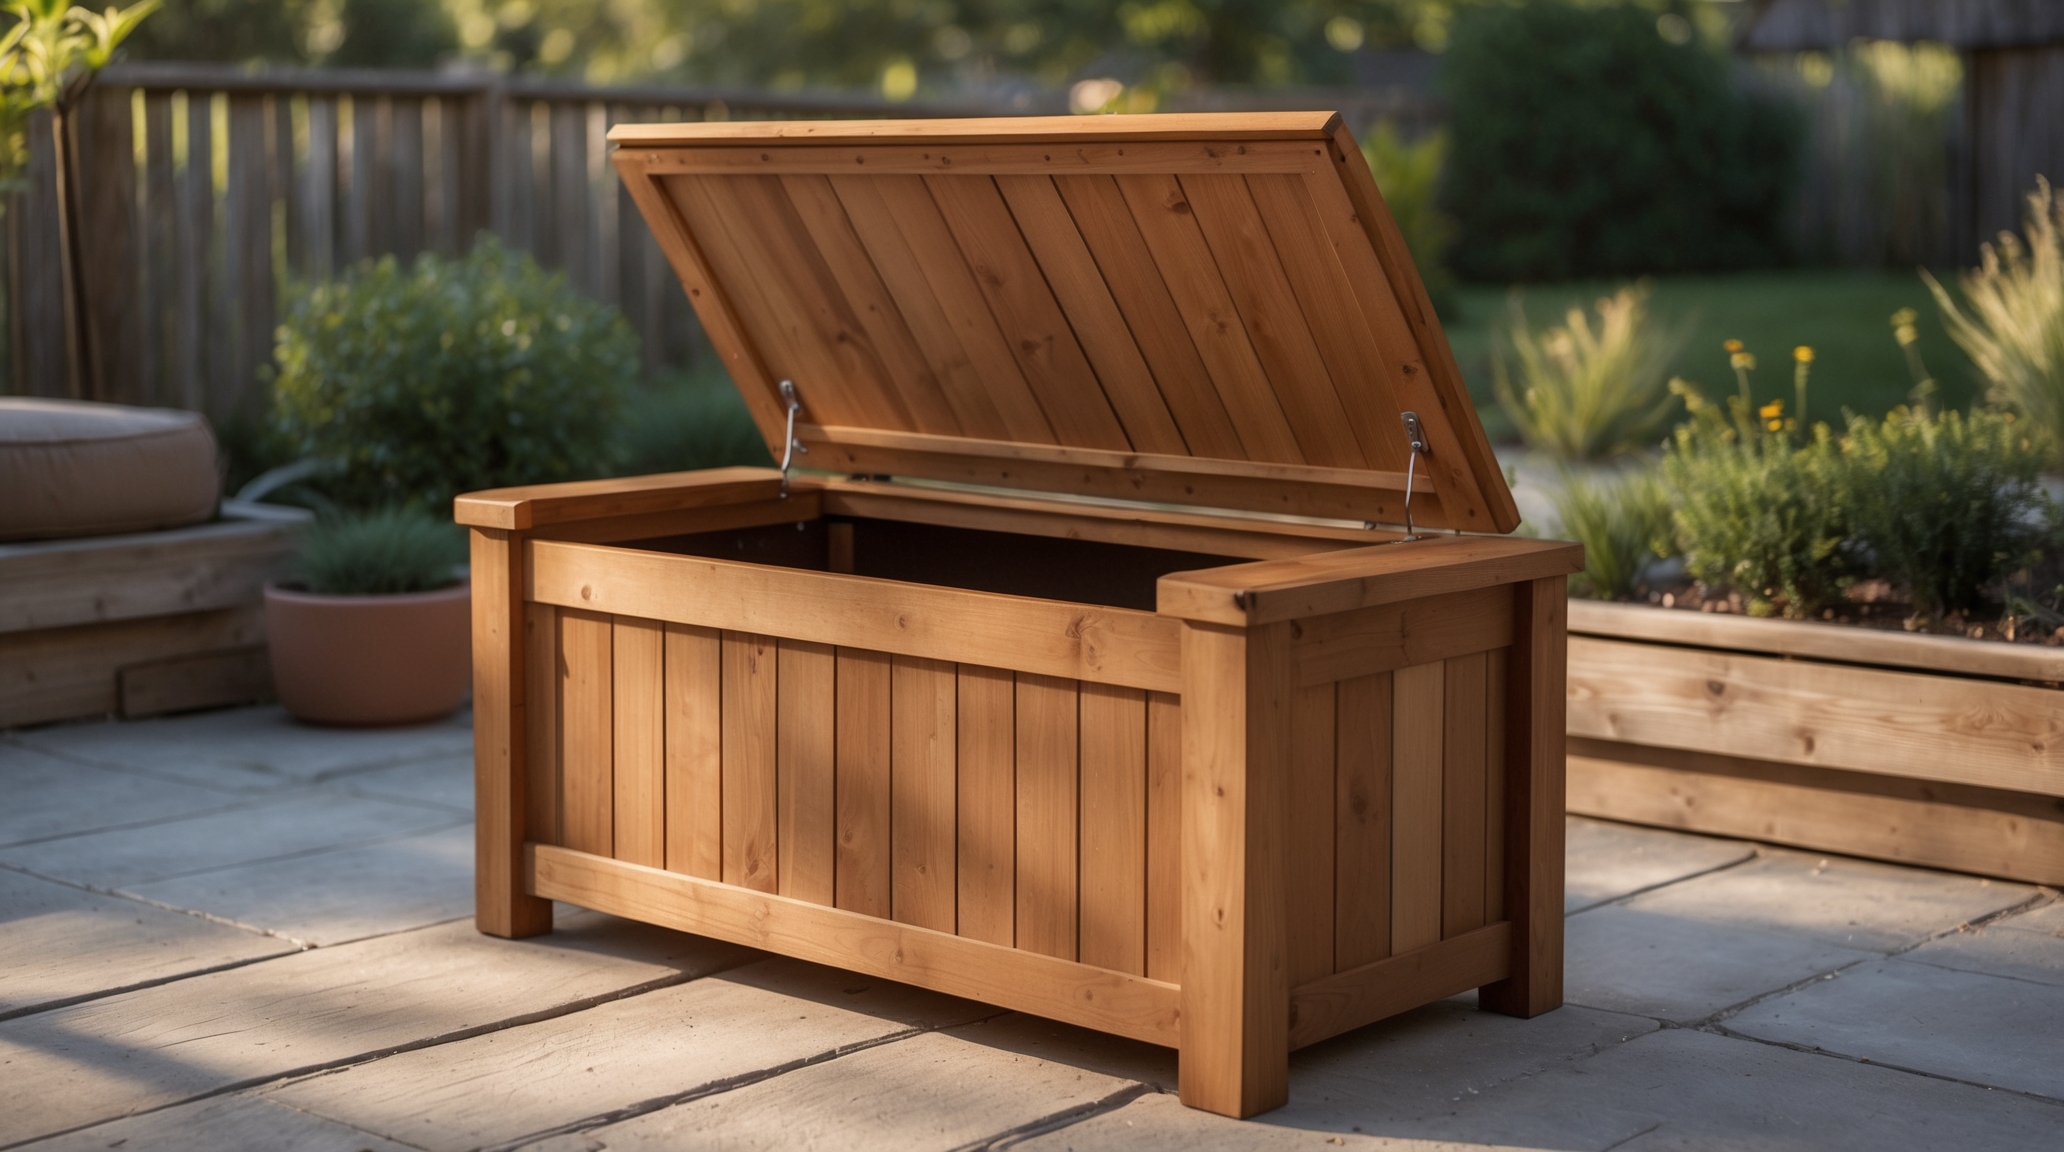
Transform your patio or garden with this DIY Wood Bench Outdoor project featuring a flip-top storage seat—an ideal twist on traditional Garden Bench Plans or Outdoor Furniture Plans. If you’ve been searching for a wood storage bench diy method that’s simple, beginner-friendly, and doubles as a diy bank for your outdoor gear, look no further! By the end of this guide, you’ll have a stylish wood bench outdoor solution that stores cushions, gardening tools, or anything else you want to keep safe from the elements.
This post may contain affiliate links. If you purchase through them, I may earn a small commission—at no extra cost to you. I only recommend resources I trust, like Ted’s Woodworking, which offers countless Outdoor Bench Plans and Outdoor Furniture Plans for every skill level!
Top Questions & Pain Points
Beginners often face these hurdles when tackling a diy wood bench outdoor project:
- Choosing the Right Wood – Unsure if they need weather-treated lumber or special coatings for wood bench outdoor builds.
- Simple Hinges & Hardware – Flip-top designs can be intimidating if you’ve never installed hinges or struts.
- Limited Tools – Wondering if you can do a wood storage bench diy project without heavy-duty saws.
- Space Constraints – Hoping to build an outdoor sofa diy or bench that fits a small patio or garden.
- Moisture & Durability – Concerns about warping or rotting if the bench is left outside in the rain.
- Time Commitment – Wanting a quick project that can be done in a weekend or less.
Project Outline (5–7 Main Steps)
- Gather Tools & Materials
- Cut & Prep Wood Pieces
- Build the Frame
- Create the Flip-Top Seat
- Sand & Finish
- Final Assembly & Storage Setup
Step-by-Step Instructions
Step 1: Gather Tools & Materials
What to Do:
- Collect essential items: a saw (circular or jigsaw), drill/driver, screws, hinges, measuring tape, clamps, and weather-resistant lumber (e.g., cedar or pressure-treated pine).
Warnings & Preparations:
- Wear safety gear (glasses, gloves) when cutting or drilling.
- Check local weather patterns to choose a finish that can handle moisture.
Tips & Best Practices:
- Pre-Check Lumber: For a wood bench outdoor project, ensure boards are straight and free of large knots.
- Use Rust-Proof Hardware: Galvanized or stainless-steel screws and hinges last longer outdoors.
Tools/Resources:
- Saw, Drill, Clamps, Weather-resistant screws, Hinges, Wood glue (optional)
Step 2: Cut & Prep Wood Pieces
What to Do:
- Measure and mark your lumber according to outdoor bench plans or a simple blueprint.
- Cut seat boards, side frames, and back supports.
Warnings & Preparations:
- Double-check measurements—“measure twice, cut once.”
- Keep your workspace clean to avoid tripping over offcuts.
Tips & Best Practices:
- Smooth Edges: Sand cut edges lightly to remove splinters.
- Label Each Piece: Use a pencil or masking tape so you don’t mix up boards during assembly.
Tools/Resources:
- Ruler, Pencil, Saw, Sandpaper (80–120 grit)
Step 3: Build the Frame
What to Do:
- Create a rectangular box for the bench’s base, attaching legs (if desired) or building a sturdy lower frame that sits on the ground.
- Secure corners with screws or corner brackets for added stability.
Warnings & Preparations:
- Ensure the frame is level; a wobbly base can compromise the flip-top seat alignment.
Tips & Best Practices:
- Pilot Holes: Pre-drill to prevent splitting—especially on thinner boards.
- Clamp & Check: Use clamps to hold the frame while you drive screws, ensuring it stays square.
Tools/Resources:
- Drill/Driver, Corner brackets (optional), Speed square (for 90° angles)
Looking for more Garden Bench Plans or an Outdoor Sofa Diy approach? Check out Ted’s Woodworking. They’ve got hundreds of outdoor furniture plans that pair perfectly with your new bench!

Step 4: Create the Flip-Top Seat
What to Do:
- Assemble the seat boards together. Attach hinges along the rear edge so the seat can open upwards, revealing storage space beneath (like a diy bank for outdoor items).
Warnings & Preparations:
- Test hinge movement before fully tightening screws.
- Watch for pinch points if children will use the bench.
Tips & Best Practices:
- Continuous Hinge vs. Individual Hinges: A piano hinge provides even support across the seat, while 2–3 smaller hinges can work if placed correctly.
- Add a Support Ledge: A small interior ledge or crossbar can help the seat rest flush when closed.
Tools/Resources:
- Hinges (piano or standard), Screwdriver or drill, Latch or handle (optional)
Step 5: Sand & Finish
What to Do:
- Once assembled, sand your projects again for a smooth, safe finish.
- Apply an outdoor-rated sealant or paint for durability.
Warnings & Preparations:
- Work in a well-ventilated area; many outdoor sealants have strong fumes.
- Let each coat dry completely to prevent tackiness.
Tips & Best Practices:
- Layer Your Finish: Two or more thin coats protect better than one heavy coat.
- Mind the Joints: Ensure no unsealed wood is exposed, especially around hinge areas.
Tools/Resources:
- Sandpaper (120–220 grit), Exterior paint or sealant, Brush or foam roller
Step 6: Final Assembly & Storage Setup
What to Do:
- Place the seat onto the frame, secure hinges, and do a test open/close.
- Add optional interior shelving or compartments if you want more organized storage (like a mini diy wood bench with storage system).
Warnings & Preparations:
- Check alignment one last time to avoid friction or scraping when the seat opens.
Tips & Best Practices:
- Decorative Elements: Attach cushions, add stencils, or store small pots inside for a multifunctional garden bench diy feel.
- Weather Protection: Consider a waterproof cushion or a small tarp if your area has heavy rainfall.
Tools/Resources:
- Hinges, Screws, Latches or handles (optional), Interior bins or crates
Ready for more advanced Outdoor Bench Plans or an Outdoor Sofa Diy? Check out Ted’s Woodworking to access thousands of diy wood bench outdoor designs—your next big project awaits!
Troubleshooting & Common Mistakes
- Seat Won’t Close Fully
Solution: Adjust hinges or add a slight gap at the rear so it can pivot freely. - Bench Feels Unstable
Solution: Reinforce the frame with corner brackets or cross braces. - Finish Peels Quickly
Solution: Sand thoroughly and use a high-quality exterior sealant. Reapply annually.
FAQs
- Can I adapt this bench to a larger diy bench outdoor sofa style?
Absolutely. Extend the length and add more support legs to mimic an outdoor sofa diy concept. - Is pressure-treated wood mandatory?
It’s recommended for wood bench outdoor projects, but cedar or redwood also handle moisture well. - How long does this project usually take?
Typically under two hours, excluding drying time for finishes. - Could I add wheels for easy mobility?
Yes! Just ensure the wheels lock so your bench doesn’t roll away. - Do I need advanced tools?
Not really. A circular saw, drill/driver, and basic hand tools suffice for these outdoor furniture plans.
Next Steps & Advanced Techniques
- Built-In Planter Box: Incorporate a small planter on one side for herbs or flowers.
- Upholstered Seat: Attach a padded cushion or even a hinge-lid cushion for a more comfortable seating experience.
- Modular Add-Ons: Create matching side tables or a coordinating diy wood bench with storage to expand your outdoor set.
Glossary of Terms
- Flip-Top Seat: A hinged bench seat that lifts open, revealing storage space beneath.
- Corner Brackets: L-shaped metal pieces that reinforce corners or joints.
- Pilot Hole: A small pre-drilled hole to prevent wood from splitting when inserting screws.
Recommended Visual Aids
- Step-by-Step Photos: Show the bench at each assembly stage—frame, seat, hinge installation, etc.
- Close-Up of Hinges: Illustrate how the flip-top mechanism attaches.
- Short Video Clip: Demonstrate flipping the seat open to reveal storage (like a diy bank concept).
Conclusion
A DIY Wood Bench Outdoor project with flip-top storage is a perfect solution if you’re looking for Garden Bench Plans that combine seating and organization. By following these simple steps, you’ll create a wood bench outdoor piece that looks great, keeps your patio clutter-free, and stands up to the elements. Whether you’re new to outdoor furniture plans or already exploring diy wood bench with storage ideas, this bench will help you relax, entertain, and stay organized—all in under two hours of build time!
Now that you’ve mastered this outdoor bench concept, feel free to explore more advanced outdoor sofa diy or garden bench diy projects—and remember to check out Ted’s Woodworking for a treasure trove of designs that match your style.