- Introduction
- Top Questions & Pain Points
- Project Outline (5–7 Main Steps)
- Step-by-Step Instructions
- Troubleshooting & Common Mistakes
- FAQs
- Next Steps & Advanced Techniques
- Glossary of Terms
- Recommended Visual Aids
- Conclusion
Introduction
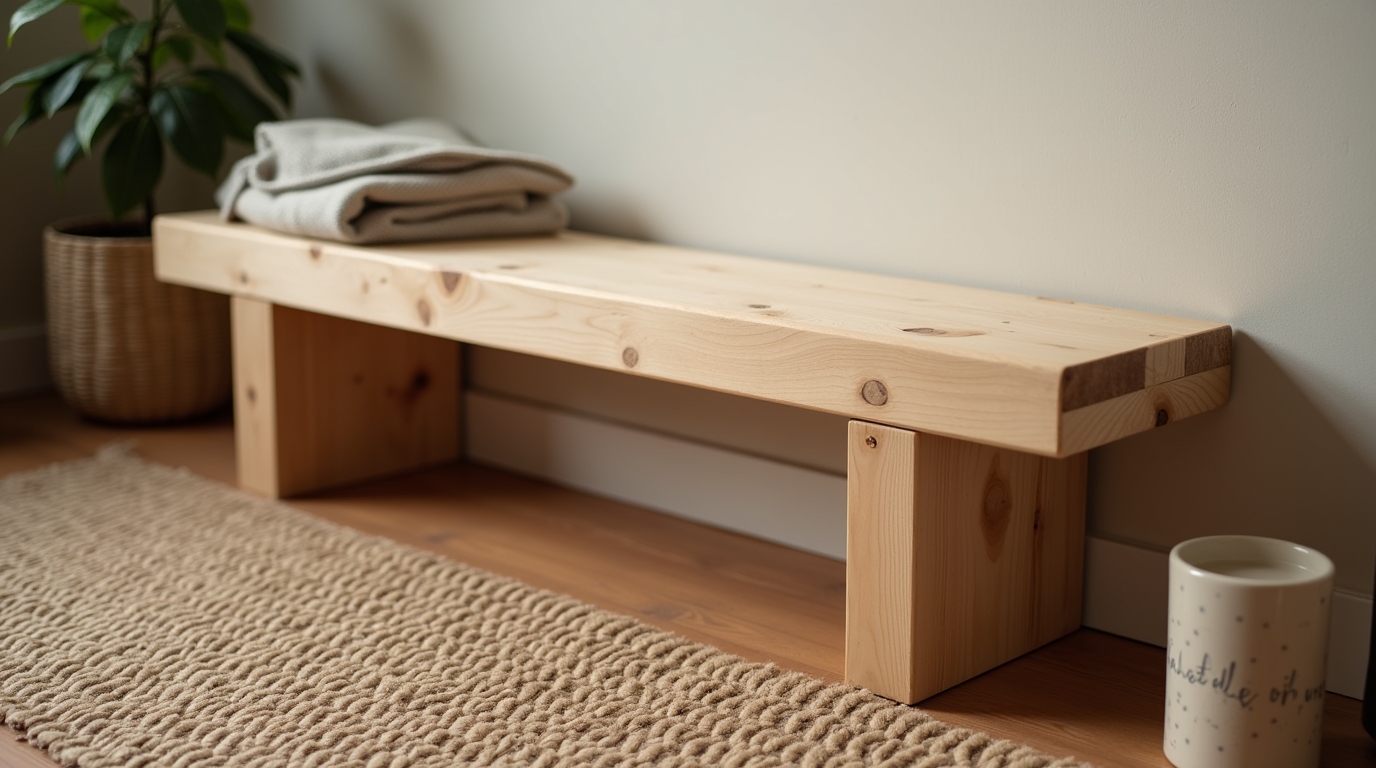
Welcome to this beginner-friendly tutorial on How To Make A Bench using simple tools and techniques. We’ll focus on a 2×8 Bench Diy approach, ensuring sturdy construction and an attractive design—perfect for indoor use or as a Diy Bench Outdoor project. By the end of this guide, you’ll know how to measure, cut, and assemble wood boards to create simple benches that fit any décor style.
This post may contain affiliate links. If you purchase through these links, I may earn a small commission at no extra cost to you. I only recommend resources I find valuable—like Ted’s Woodworking, which offers detailed plans for projects like Diy Wood Bench builds and more!
Top Questions & Pain Points
Beginners often encounter the following challenges when making a bench:
- Choosing the Right Wood – Unsure which size or type of lumber works best for a Diy Bench.
- Securing Joints Properly – Worry about stability, especially for a How To Make A Bench Seat project meant to hold weight.
- Exact Measurements – Confusion over cut lengths and angles, particularly for 2×8 Bench Diy designs.
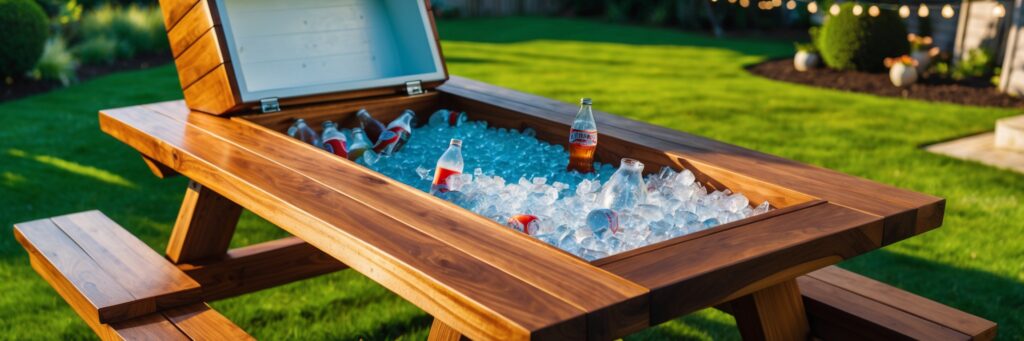
- Outdoor vs. Indoor Use – Deciding if you need weather-resistant finishes for a How To Build A Bench Outdoor plan.
- Tools & Costs – Fears about needing advanced tools or a large budget to build simple benches.
- Time Constraints – Wondering if they can realistically complete a diy wood bench project in a weekend.
Project Outline (5–7 Main Steps)
- Gather Materials & Prep
- Cut & Sand Wood
- Build the Frame & Bench Seat
- Assemble & Secure
- Finish & Style
Step-by-Step Instructions
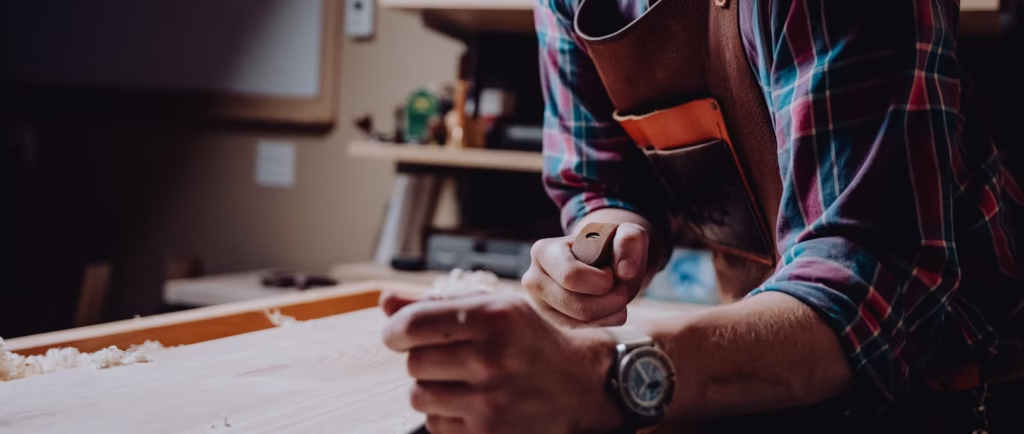
Step 1: Gather Materials & Prep
What to Do:
- Select sturdy lumber for the bench frame (2×8 boards work great for a 2×8 Bench Diy).
- Gather essentials: saw, drill/driver, screws, sandpaper, measuring tape, speed square, and safety gear.
Warnings & Preparations:
- Always wear safety glasses and gloves.
- Check the wood for warping or knots before purchasing—it should lie flat and be free of major defects.
Tips & Best Practices:
- Plan Your Dimensions: Sketch a quick design. Decide if this will be an indoor bench or a How To Build A Bench Outdoor piece (this affects the finish you’ll apply).
- Simplify Where Possible: If you want simple benches, stick to minimal cuts and straight edges.
Tools/Resources:
- Circular saw or miter saw.
- Carpenter’s square for precise measuring.
Step 2: Cut & Sand Wood
What to Do:
- Measure and mark your boards carefully—this is essential for making a bench that looks professional.
- Cut the legs, seat, and support pieces based on your design (e.g., seat at around 48″ long, legs at 16–18″ high for a standard bench).
Warnings & Preparations:
- Double-check measurements before cutting—“measure twice, cut once.”
- Secure the board with clamps while cutting to avoid movement.
Tips & Best Practices:
- Sand Edges Smooth: Prevent splinters and ensure a good finish on your diy wood bench by using 80-grit first, then 120- or 150-grit for a final pass.
- Keep Parts Organized: Label each piece with a pencil or sticky note so you don’t mix them up when you begin How To Make A Bench Seat assembly.
Tools/Resources:
- Power sander or sandpaper blocks for finishing.
- Clamps to hold boards in place while sawing.
Step 3: Build the Frame & Bench Seat
What to Do:
- Arrange the legs and side supports on a flat surface. Attach them using wood screws and optional corner brackets for extra stability.
- Position the seat boards on top, leaving a small gap (1/8″) between each if using multiple planks.
Warnings & Preparations:
- Check for levelness as you attach each piece—rocking or unevenness indicates you need to adjust.
- If you’re building a diy bench outdoor version, consider using pressure-treated lumber or apply a weather-resistant sealant later.
Tips & Best Practices:
- Reinforce Joints: Use pocket holes or corner brackets if you’re unsure about stability—especially for larger or heavier 2×8 bench diy builds.
- Pilot Holes: Drilling pilot holes before driving in screws prevents wood splitting and creates a cleaner look.
Tools/Resources:
- Pocket hole jig (optional but useful for seamless joints).
- Carpenter’s square to confirm right angles.
Step 4: Assemble & Secure
What to Do:
- Attach the seat to the frame using wood screws, ensuring each board is flush and secure.
- If you’re making a how to make a bench seat with a backrest, assemble and attach the back supports similarly.
Warnings & Preparations:
- Check that your seat height is comfortable (typically 16–18″ from the ground). Adjust if needed for simple benches or custom designs.
- Make sure the bench is stable before placing weight on it.
Tips & Best Practices:
- Test Stability: Lightly push on the bench from different angles. Any wobble means you may need additional support or to tighten screws.
- Countersink Screws: Countersinking helps screws sit flush with the surface, preventing snags on clothing or skin.
Tools/Resources:
- Countersink bit for a smooth finish.
- Level to ensure everything remains straight and stable.
For detailed step-by-step plans on everything from making a bench to building entire dining sets, check out Ted’s Woodworking. It’s my go-to resource for advanced and beginner-friendly projects alike!

Step 5: Finish & Style
What to Do:
- Sand any rough spots again, especially corners and edges.
- Apply a finish of your choice—paint, stain, or clear sealant. This is crucial if you want a diy bench outdoor piece that withstands the elements.
Warnings & Preparations:
- Work in a well-ventilated area. Some stains and paints have strong fumes.
- Let each coat dry fully before adding another.
Tips & Best Practices:
- Choose Weather-Resistant Products: If you plan to place this bench outside, pick an exterior-grade paint or sealant (e.g., spar urethane).
- Personal Touches: Add decorative cushions, a cozy throw, or small potted plants for style—turning how to build a bench outdoor into a full design statement.
Tools/Resources:
- Foam brushes or high-quality bristle brushes for a smooth finish.
- Drop cloth or newspaper to protect your workspace.
Ready to expand your carpentry skills beyond simple benches? Download more in-depth woodworking plans from Ted’s Woodworking and bring your next diy bench or furniture idea to life!
Troubleshooting & Common Mistakes
- Wood Splitting:
Solution: Pre-drill pilot holes and use the correct screw length. - Wobbly Legs:
Solution: Double-check measurements and ensure legs are cut square. Tighten or add brackets for stability. - Uneven Seat Planks:
Solution: Use a level or clamps to keep boards flush before screwing them in place.
FAQs
- Can I use 2×6 boards instead of 2×8 for my bench?
Yes! Just adjust measurements accordingly—How To Make A Bench Seat from 2×6 is quite common for simple benches. - Is this bench design suitable for outdoors?
Absolutely. Just apply a weatherproof sealant and consider pressure-treated lumber for a diy bench outdoor. - How long does this project typically take?
Usually a weekend is enough—cutting and assembly can be done in a day, with extra time for paint/stain to dry. - What if I want a taller or longer bench?
Simply adjust the leg and seat lengths while making a bench. The steps remain the same. - Do I need advanced tools or a workshop?
Not necessarily. A circular saw, drill, and sander are enough for most diy wood bench projects.
Next Steps & Advanced Techniques
- Built-In Storage: Add a hinged seat for stashing garden tools or throw blankets.
- Detailed Trim: Use decorative molding to enhance the bench’s style.
- Multiple Seating Sections: Connect two benches into an L-shape for spacious seating—excellent if you plan on how to build a bench outdoor around a fire pit or porch.
Glossary of Terms
- Pilot Hole: A small hole drilled before driving a screw to reduce splitting.
- Countersink: A conical hole that allows a screw head to sit flush or below the wood surface.
- Pocket Hole Jig: A tool that creates angled holes, making it easy to join boards without exposed screws.
Recommended Visual Aids
- Diagrams & Measurements: Show each board’s length for 2×8 Bench Diy clarity.
- Close-Up Photos of Joints: Illustrate where and how screws go into the frame.
- Short Video Clips: Demonstrating sanding and the final assembly.
Conclusion
Building a 2×8 Bench Diy isn’t complicated—just follow these steps on How To Make A Bench and adapt them to your style. Whether you’re focusing on simple benches for indoor use or planning a How To Build A Bench Outdoor for your porch, this project is beginner-friendly and offers plenty of room for customization. With the right materials, tools, and a little patience, you’ll soon have a diy wood bench you can be proud of.
Now that you’ve mastered making a bench, don’t stop here! With resources like Ted’s Woodworking, you can explore more exciting builds, perfect your craftsmanship, and keep enjoying the satisfaction of creating your own custom furniture. Grab your materials, get started, and have fun with this timeless DIY project!