Are you looking for a simple yet stylish DIY wooden chair plan that requires no fancy tools? You’re in the right place! In this guide, I’ll show you how to make a sturdy and beautiful wooden chair using basic woodworking skills.
This project is perfect for:✔️ Beginners looking for easy chair woodworking plans
✔️ DIYers wanting to build DIY farmhouse chairs for their home✔️ Anyone interested in woodworking projects furniture
By the end of this tutorial, you’ll have a sturdy, stylish wooden chair that’s great for a dining room, patio, or farmhouse-style décor. Let’s get started!

Why Build Your Own DIY Wooden Chair?
There are plenty of great reasons to build your own wood chair DIY instead of buying one:
-
Save Money: A quality wooden chair can be expensive. Building one yourself is cost-effective.
-
Customization: Choose your wood type, stain, and size to match your home.
-
Skill Improvement: This project is great for those looking to start woodworking plans beginner level.
-
Perfect for Multiple Uses: You can use it as a dining chair, patio chair, or even as farmhouse décor.
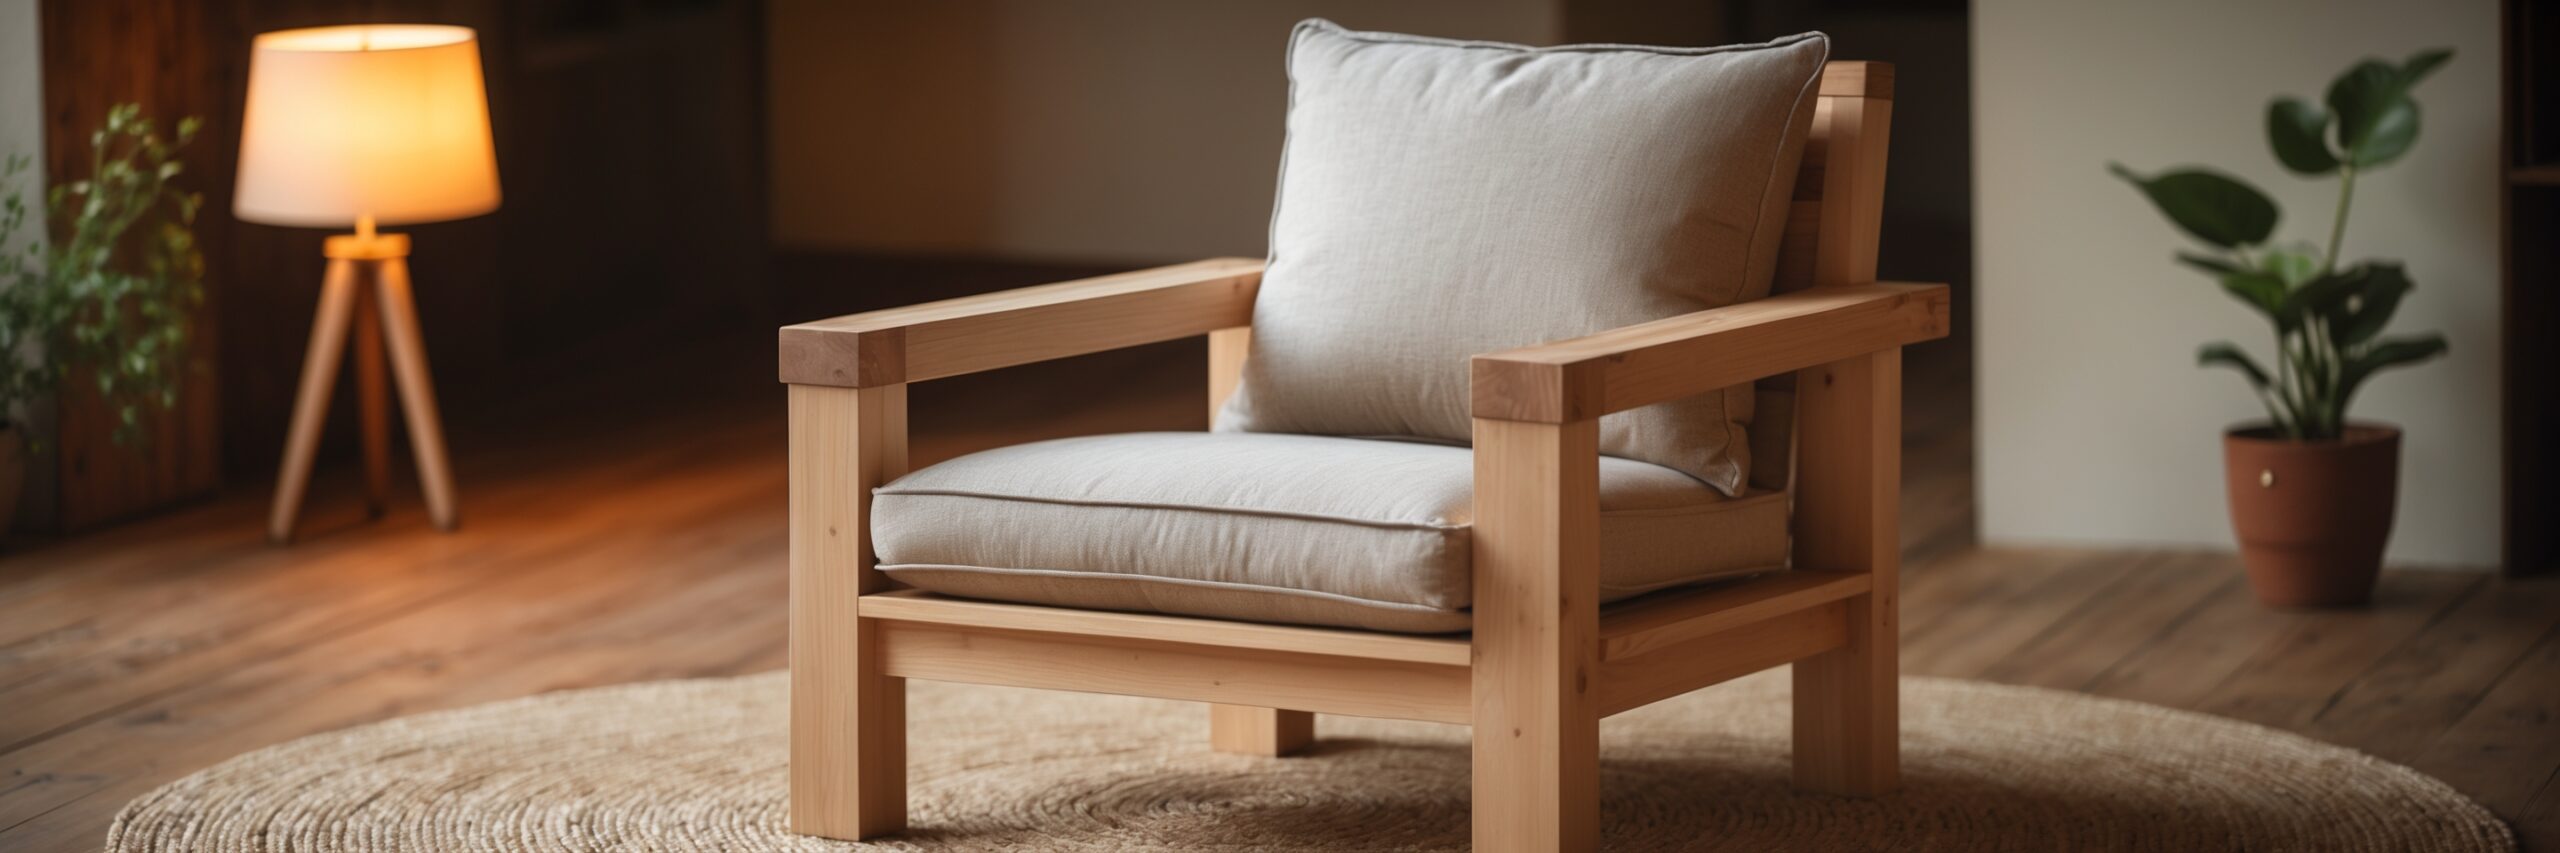
Now, let’s go through how to make dining chairs like the one in the image above.
Materials & Tools You’ll Need
🛠 Materials:
-
(2) 2×4 boards – for legs & supports
-
(2) 1×6 boards – for the seat and backrest
-
Wood screws (2.5-inch)
-
Wood glue
-
Sandpaper (120- and 220-grit)
-
Wood stain or paint (optional)
🔧 Tools Required:
-
Drill
-
Saw (Hand saw or circular saw)
-
Clamps
-
Measuring tape & pencil
Step-by-Step: How to Build a DIY Wooden Chair
Step 1: Cut Your Wood Pieces
Measure and cut your wood according to these dimensions:
-
Chair Legs: 4 pieces of 2x4s (18 inches each)
-
Seat Frame: 2 pieces of 2x4s (16 inches each)
-
Backrest Support: 2 pieces of 1x6s (15 inches each)
-
Seat Slats: 3 pieces of 1x6s (16 inches each)
💡 Pro Tip: Sand all pieces before assembly to prevent splinters!
Step 2: Assemble the Chair Frame
-
Attach the seat frame: Use wood glue and screws to connect the 16-inch 2x4s between the chair legs.
-
Secure the legs: Make sure they are straight before tightening the screws.
-
Add the seat slats: Space them evenly on top of the frame and screw them in place.
Step 3: Attach the Backrest
-
Position the backrest boards at a slight angle for comfort.
-
Use screws and wood glue to secure them to the back legs.
-
Sand everything smoothly for a professional finish.
Step 4: Finishing Touches
✅ Sand down rough edges for a polished look.
✅ Apply wood stain or paint for a farmhouse, rustic, or modern finish.✅ Add cushions for extra comfort (optional).
🎉 Congratulations! You’ve built your own wooden chair!
Styling Ideas for Your DIY Wood Chairs
💡 For the Dining Room: Use matching chairs with a farmhouse table for a cozy feel.
☀️ For the Patio: Add weatherproof paint and cushions to create perfect patio chairs DIY.🏡 For a Rustic Touch: Use distressed stain and pair with a wooden bench.
FAQs
1. What type of wood is best for DIY wooden chairs?
Pine is great for affordability, while oak and maple provide durability. Cedar is excellent for outdoor chairs.
2. Can I make this chair without power tools?
Yes! You can use a hand saw and screwdriver, though power tools will make the process faster.
3. How do I modify this for kids’ woodworking projects?
Simply adjust the dimensions to create a smaller version for children.
4. How long does it take to build this chair?
For beginners, it should take about 4-6 hours including sanding and finishing.
5. Can I add armrests?
Yes! Just attach two 2x4s on each side for a comfortable armrest.
Conclusion: Start Your DIY Chair Project Today!
Now that you have an easy DIY wooden chair plan, it’s time to get started on your build. Whether you’re making DIY farmhouse dining chairs, a patio chair, or a custom dining room set, this project is a great way to improve your woodworking skills.
👉 What’s next? Grab your tools and start building! Let me know in the comments how your project turns out.
🔨 Happy woodworking!