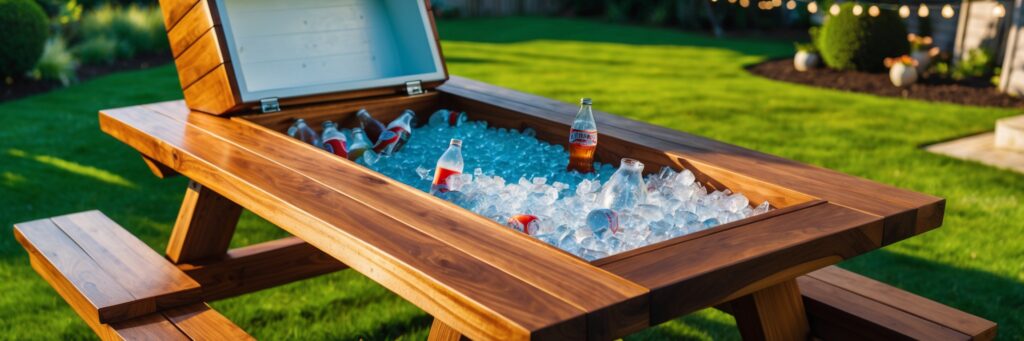
Woodworking projects plans step by step are not only about crafting beautiful items; they are a gateway to transforming your living space into a functional and stylish environment. In this guide, we reveal 10 trendy woodworking projects that cater to various lifestyles—from the sleek lines of urban minimalism to the sustainable innovations of eco-friendly designs. Moreover, our comprehensive step-by-step instructions will help you build each project with confidence. Whether you’re a beginner or an experienced craftsman, these projects offer practical solutions that suit your lifestyle and budget. Additionally, you will learn about essential tools, materials, and advanced carpentry techniques that are perfect for men who value DIY, home improvement, and off-grid living.
Early Affiliate Disclosure: This post contains affiliate links. If you make a purchase through these links, I may earn a small commission at no extra cost to you. For those seeking professional-grade woodworking plans, check out Ted’s Woodworking – my trusted resource for detailed blueprints. Learn more here.
Furthermore, this article includes real-life examples, creative tips, and expert insights to help you elevate your projects. Therefore, read on to discover how each project can add value to your home and lifestyle!
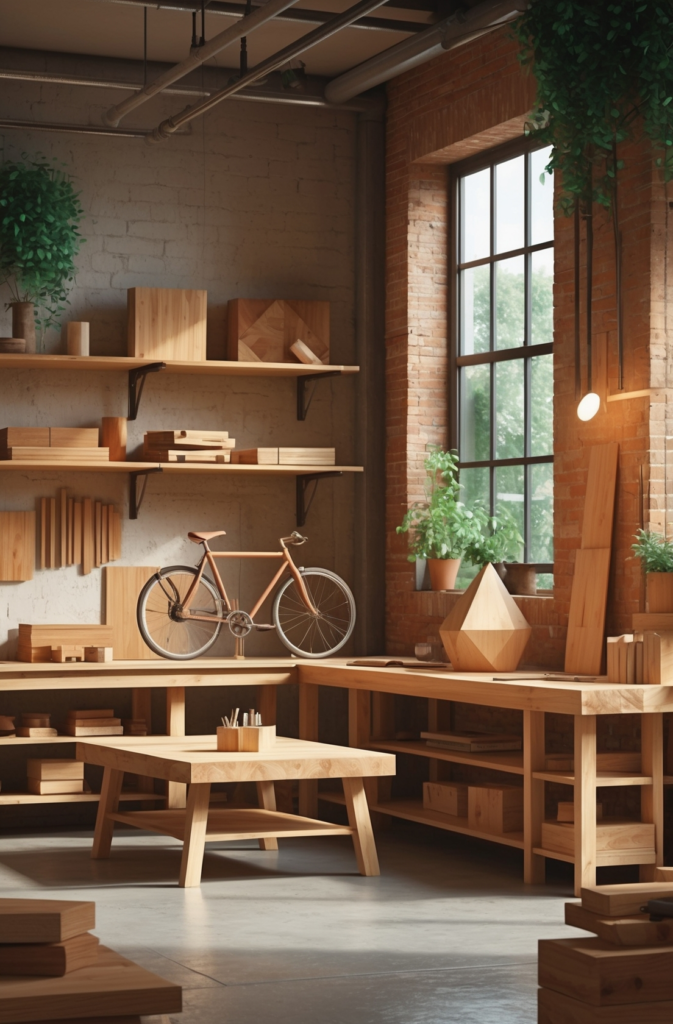
Table of Contents
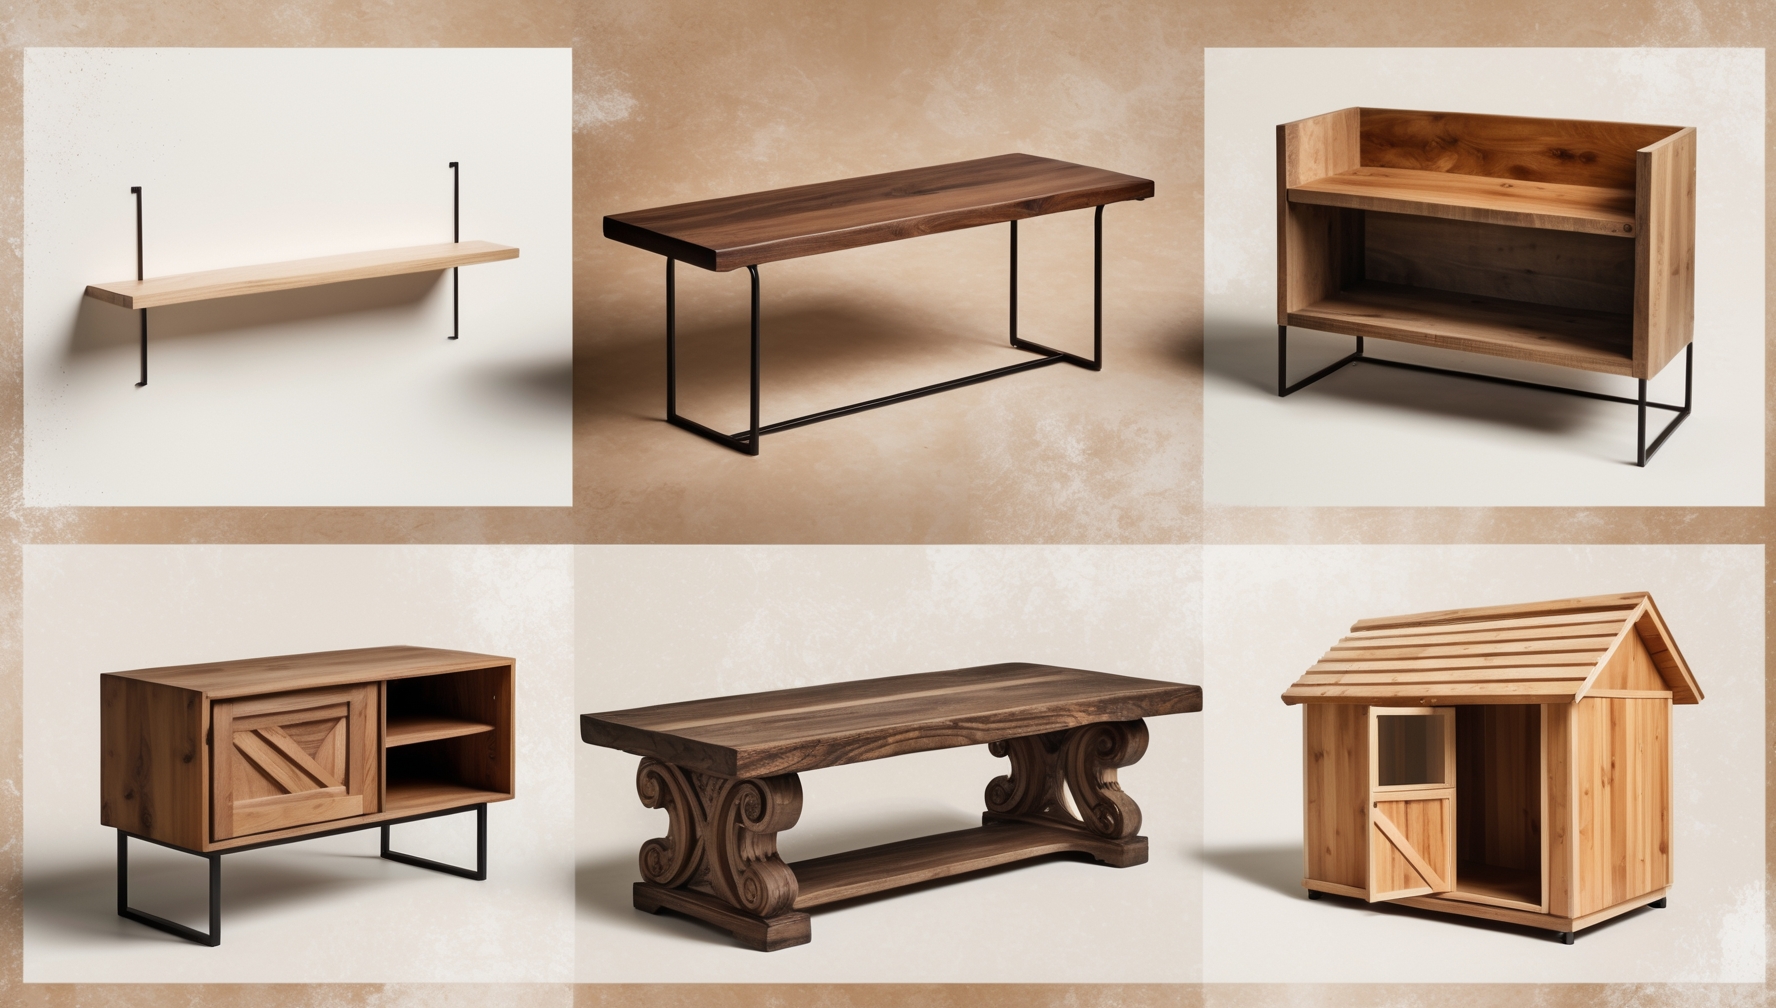
- Project 1: Urban Minimalist Floating Shelves
- Project 2: Sleek Modern Coffee Table for Compact Spaces
- Project 3: Rustic Farmhouse Dining Bench
- Project 4: Eco-Friendly Reclaimed Wood Storage Cabinet
- Project 5: Outdoor DIY Wood Shed for Off-Grid Living
- Project 6: Modern Workbench for Home Workshops
- Project 7: Custom Wood Flooring with Unique Patterns
- Project 8: DIY Wooden Outdoor Furniture Set
- Project 9: Handmade Carved Wooden Sign for Home Decor
- Project 10: Multi-Purpose Storage Solutions for Small Spaces
- Tips for Mastering Woodworking Projects Plans Step by Step
- Advanced Carpentry Techniques for the Experienced Craftsman
- How to Optimize Your Woodworking Projects for Profit
- Real-Life Success Stories from DIY Woodworking Enthusiasts
- Quick Takeaways
- Conclusion
- FAQs
- We Want Your Feedback!
- References
Project 1: Urban Minimalist Floating Shelves
These floating shelves are perfect for the urban dweller who craves both style and functionality. Designed especially for compact apartments, this project is ideal for those looking to maximize wall space while maintaining a modern aesthetic. Firstly, these shelves offer a clean look that suits any urban interior. Moreover, they are versatile enough to display books, décor, or personal mementos.

Materials & Steps:
- Materials: High-quality plywood or reclaimed wood, hidden mounting brackets, screws, wood stain/paint, sandpaper, level, and measuring tape.
- Tools: Drill, saw, sander, and router.
How to Make It:
Begin by carefully measuring your wall space and cutting the wood to your desired dimensions. Then, sand the surfaces thoroughly before applying a stain or paint. Next, mount the hidden brackets ensuring a perfectly level installation to achieve that seamless floating effect. For example, one young professional transformed her small apartment using these shelves to display both art and books, enhancing her minimalist décor.
Decorating Tips:
Pair the shelves with small potted plants, minimalist artwork, or vintage accessories. For instance, imagine a busy professional using these shelves to hold motivational items and travel souvenirs, thereby adding character and charm to a limited space.
Project 2: Sleek Modern Coffee Table for Compact Spaces
This modern coffee table is designed for those with limited space who still want a stylish centerpiece. It is perfect for urban apartments and small living rooms, offering both form and function. In addition, the design is simple to follow and ideal for anyone new to woodworking projects plans step by step. Furthermore, its clean lines and elegant finish make it a real conversation starter.

Materials & Steps:
- Materials: Solid wood planks, metal legs, wood glue, screws, wood finish, and sanding materials.
- Tools: Circular saw, drill, sander, and measuring tape.
How to Build It:
Start by cutting the wood to the specified dimensions, ensuring each piece fits perfectly. Next, sand all pieces and apply a smooth finish. Then, assemble the table by securely attaching the metal legs using wood glue and screws. For instance, a young professional in a city loft built this coffee table to complement her modern décor and impress her guests.
Finishing Techniques and Styling:
Apply a high-quality wood finish to enhance the natural grain, and consider adding a clear coat for extra durability. Moreover, these finishing touches elevate the table from basic to brilliant.
Pro Tip: If you’re eager to explore more advanced projects, check out Ted’s Woodworking for over 16,000 detailed plans that make it easy to build furniture with confidence. Explore Ted’s Woodworking here.

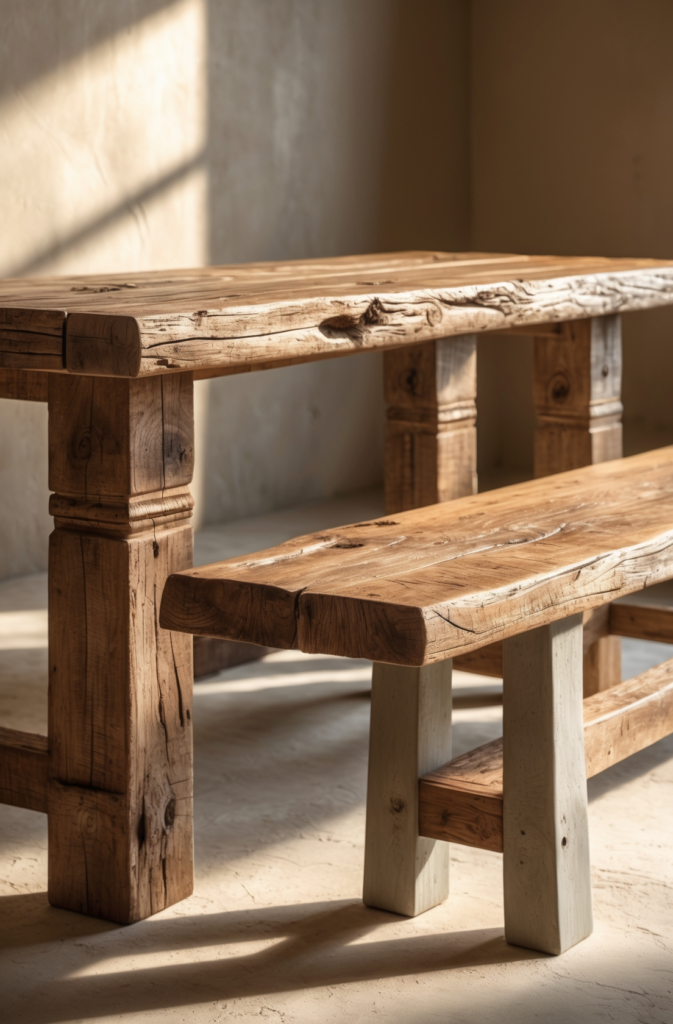
Project 3: Rustic Farmhouse Dining Bench
This dining bench brings a touch of rustic charm to any home. It is especially beneficial for those who love farmhouse-style décor and desire a warm, inviting dining area. Firstly, its robust design ensures long-lasting durability. Additionally, using reclaimed wood gives the bench unique character and a sustainable edge.
Materials & Steps:
- Materials: Reclaimed wood, robust bench supports, wood screws, rustic stain, and protective sealant.
- Tools: Table saw, sander, drill, and measuring tape.
Step-by-Step Assembly Instructions:
Select reclaimed wood with unique grain patterns. Cut the wood into the necessary components and sand each piece meticulously. Assemble the bench using screws and support brackets, then apply a rustic stain to highlight the natural beauty. For example, one family renovated their dining room with this bench, which quickly became a conversation piece at gatherings.
Enhancing with Vintage Finishes:
Finish by applying a protective sealant, and consider distressing the edges for an authentic vintage look. Moreover, this project perfectly suits those who cherish rustic aesthetics and sustainable materials.
Project 4: Eco-Friendly Reclaimed Wood Storage Cabinet
This storage cabinet is ideal for the eco-conscious individual who seeks functionality and sustainability. It combines reclaimed wood with modern design to provide ample storage for any room. Moreover, its eco-friendly construction reduces waste while delivering a unique aesthetic. Furthermore, it is perfectly suited for small spaces.
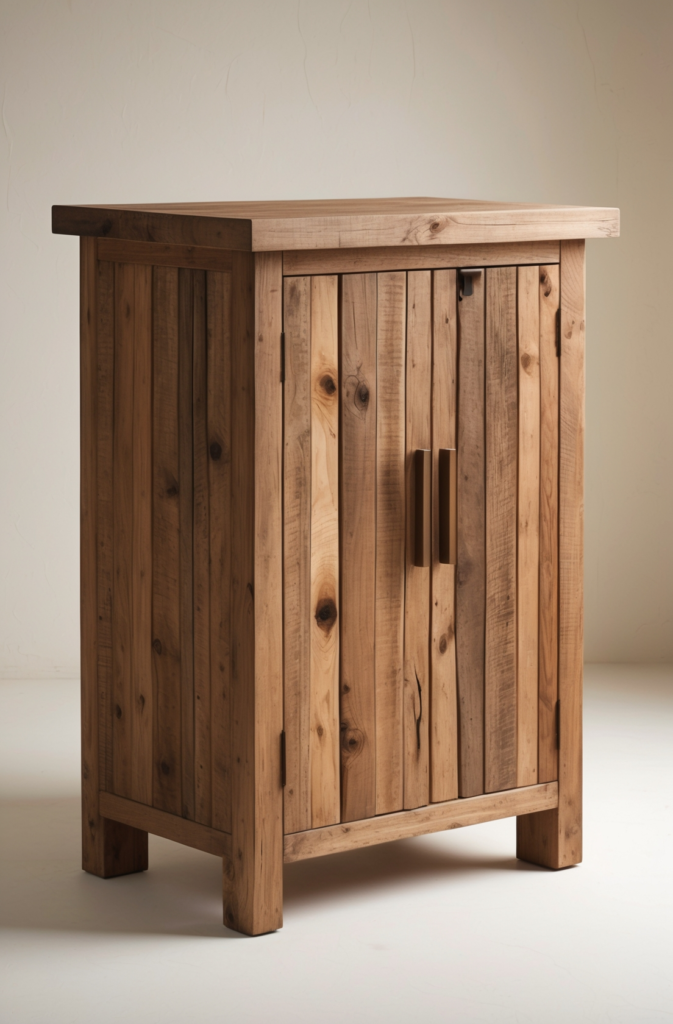
Materials & Steps:
- Materials: Reclaimed wood, eco-friendly adhesives, storage hinges, screws, wood stain/varnish, and sandpaper.
- Tools: Circular saw, drill, sander, and measuring tape.
How to Build It Step by Step:
Measure your space and cut the reclaimed wood accordingly. Sand each piece thoroughly, apply an eco-friendly stain, and assemble the cabinet using secure joinery. For example, an environmentally conscious homeowner organized her kitchen supplies with this stylish cabinet, maintaining a rustic yet modern look.
Decorating Tips with Eco Innovations:
Enhance the cabinet by adding recycled décor items or plants. Additionally, consider using energy-efficient lighting to highlight its design.
Project 5: Outdoor DIY Wood Shed for Off-Grid Living
This DIY wood shed is tailor-made for those who live off-grid or enjoy outdoor living. It solves the problem of limited storage while providing a durable, weather-resistant structure. Firstly, it offers secure storage for tools and supplies. Additionally, its design is robust enough to withstand harsh outdoor conditions, making it ideal for survival and off-grid lifestyles.
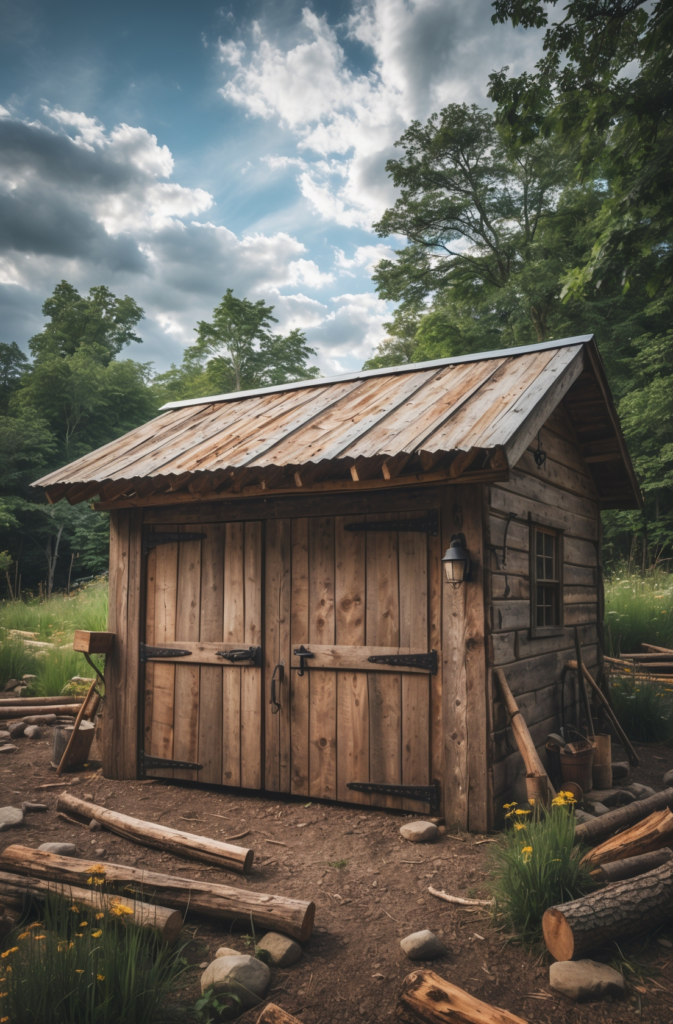
Materials & Steps:
- Materials: Pressure-treated wood, weather-resistant sealant, roofing materials, screws, and metal brackets.
- Tools: Circular saw, drill, sander, and level.
How to Construct a Durable Wood Shed:
Begin by laying a solid foundation and cutting the wood to precise dimensions. Then, assemble the shed frame using metal brackets and secure it with screws. Attach roofing materials and apply a weather-resistant sealant. For example, a homesteader built this shed to store essential off-grid survival tools while creating a dedicated workspace outdoors.
Tips for Survival and Off-Grid Efficiency:
Ensure proper ventilation and add extra storage features inside the shed. Moreover, consider installing solar panels for alternative power.
Deeper Tutorial Tie-In: If you’re looking to tackle more advanced outdoor builds, check out Ted’s Woodworking for comprehensive plans. Discover their full range here.
Project 6: Modern Workbench for Home Workshops
A dedicated workbench is essential for any serious DIYer or professional craftsman. This project is designed for those who need a robust and organized workspace. Firstly, the workbench offers ample space for tool storage and precise work. Moreover, its sturdy construction ensures reliability and longevity.

Materials & Steps:
- Materials: Hardwood boards, metal brackets, wood screws, epoxy resin (optional), and wood finish.
- Tools: Table saw, drill, sander, measuring tape, and clamps.
Building a Sturdy Workbench:
Select high-quality hardwood boards and cut them to size. Assemble the workbench frame using metal brackets and screws, ensuring each joint is secure. Sand the surface until smooth and finish with a durable coating. For example, a dedicated craftsman transformed his workshop with this workbench, which improved his productivity and organization.
Organizing Tools and Workspaces:
Integrate storage solutions like drawers or pegboards, and install proper lighting for detailed work. Furthermore, these enhancements will help you maintain an efficient workspace.
Project 7: Custom Wood Flooring with Unique Patterns
Custom wood flooring offers a creative way to transform any space. This project is ideal for homeowners who want to add a personalized touch to their interiors while embracing a natural aesthetic. Firstly, the unique patterns create a dramatic focal point. Furthermore, following woodworking projects plans step by step makes the installation process straightforward.

Materials & Steps:
- Materials: Premium hardwood planks, wood glue, nails, finishing oil or varnish, and sandpaper.
- Tools: Table saw, nail gun, sander, and measuring tape.
How to Lay Out and Install Wood Flooring:
Plan your layout and calculate the required materials. Cut the planks to size, sand them for a smooth finish, and secure them with wood glue and nails. For example, a renovator transformed a dated living room with custom flooring that showcased intricate patterns, adding warmth and sophistication.
Enhancing with Creative Designs:
After installation, apply a finishing oil or varnish to bring out the wood’s natural beauty. Moreover, complement the flooring with accent pieces that match your décor.
Project 8: DIY Wooden Outdoor Furniture Set
Outdoor furniture can dramatically enhance your backyard or patio. This project is designed for those who enjoy DIY woodworking projects and desire a comfortable, stylish outdoor living space. Firstly, these pieces are durable and weather-resistant. Moreover, they add a personalized touch to your outdoor area while providing functional seating and storage.

Materials & Steps:
- Materials: Weather-resistant wood, outdoor screws, wood sealant, cushions (optional), and decorative accents.
- Tools: Circular saw, drill, sander, and measuring tape.
How to Build and Assemble Outdoor Furniture:
Design your furniture set and determine the required dimensions. Cut the wood accurately, sand thoroughly, and assemble using outdoor screws and wood glue. Then, apply a high-quality sealant to protect the wood. For example, an outdoor enthusiast built this furniture set to create an inviting space for family gatherings and summer barbecues.
Maintenance and Weatherproofing Tips:
Regularly clean and reapply sealant to maintain durability. Furthermore, add outdoor cushions and accents for extra comfort.
Project 9: Handmade Carved Wooden Sign for Home Decor
A handmade carved wooden sign can add a unique, personal touch to any home. This project is excellent for those who appreciate intricate details and artistic woodworking. Firstly, it serves as a striking décor piece that conveys personality. Furthermore, the carving process enhances your craftsmanship while offering a creative outlet.

Materials & Steps:
- Materials: Quality wood block, carving tools, wood stain, protective varnish, and sandpaper.
- Tools: Chisels, mallet, router (optional), and measuring tape.
Step-by-Step Carving Instructions:
Start by selecting a quality wood block and sketching your design. Use carving tools to carefully remove excess wood, then sand and apply a stain to highlight the details. For example, a craftsman created a family name sign that became the centerpiece of his living room décor, impressing both guests and family.
Painting and Distressing Techniques:
After carving, apply a protective varnish and use distressing techniques to achieve a vintage look that adds character. Additionally, these techniques give your sign a timeless appeal.
Project 10: Multi-Purpose Storage Solutions for Small Spaces
Efficient storage is a challenge for many, and this project provides a creative solution that blends functionality with design. It is ideal for those with limited space who want to organize belongings without sacrificing style. Firstly, these modular units maximize every inch of available space. Additionally, they are versatile and customizable to suit your specific needs.

Materials & Steps:
- Materials: Plywood or MDF, screws, wood glue, paint or stain, and hardware for doors/drawers.
- Tools: Table saw, drill, sander, and measuring tape.
Building Modular Storage Units:
Begin by designing your layout and calculating the required dimensions. Cut and sand each panel for a smooth finish, then assemble the unit using screws and wood glue. For instance, one craftsman organized his cramped workshop with these storage solutions, resulting in a clutter-free and efficient workspace.
Decorating Tips to Maximize Space:
Paint or stain the unit to match your décor and add decorative hardware for visual interest. Moreover, integrating adjustable shelves enhances versatility.
Tips for Mastering Woodworking Projects Plans Step by Step
Learning woodworking projects plans step by step can be incredibly rewarding. Firstly, having a well-organized plan saves time and materials. Furthermore, clear instructions help minimize mistakes and yield professional results. This section outlines essential tools and resources that both beginners and experienced woodworkers should consider.
Essential Tools and Resources
Invest in quality wood crafting tools such as saws, routers, and sanders. Additionally, utilize free woodworking plans available online; however, premium plans often offer more detailed, step-by-step instructions.
Free Woodworking Plans vs. Premium Resources
While free plans can be a great starting point, they may lack the depth provided by premium resources. Therefore, if you are serious about elevating your skills, consider investing in comprehensive resources like Ted’s Woodworking.
Advanced Carpentry Techniques for the Experienced Craftsman
For those who have mastered the basics, advanced carpentry techniques can elevate your projects to new heights. Firstly, mastering joinery techniques and fine finishing can dramatically improve your work. Moreover, utilizing specialized tools like routers adds precision and quality to your builds.
Joinery and Finishing Techniques
Focus on techniques such as dovetail and mortise and tenon joints for strong connections. Additionally, achieving a fine finish is essential for a professional look.
Using Specialized Tools
Become familiar with routers, planers, and other advanced equipment to create intricate designs that set your projects apart.
How to Optimize Your Woodworking Projects for Profit
Turning your woodworking hobby into a profitable venture requires creativity and business acumen. Firstly, identifying wood projects that sell well is crucial. Moreover, effective marketing strategies can significantly boost your sales.
Wood Projects That Sell and Marketing Tips
Research market trends to understand which DIY woodworking projects resonate with buyers. Additionally, learn how to price your projects competitively while maintaining quality.
Strategies for Selling Your DIY Woodworking Projects
Utilize online platforms, local craft fairs, and social media to showcase your work. Furthermore, developing a distinctive brand will help your projects stand out.
Real-Life Success Stories from DIY Woodworking Enthusiasts
Real-life examples inspire and motivate. Firstly, these stories offer practical insights that you can apply to your own projects. Furthermore, they demonstrate that with dedication and the right plans, success is achievable.
Case Study: Transforming a Home Workshop
Read how a hobbyist revamped his small workshop, improved his craftsmanship, and eventually started a business selling custom furniture.
Interview with a Professional Craftsman
Discover tips from a seasoned carpenter who overcame challenges and built a reputable brand in the woodworking industry.
Quick Takeaways
- Woodworking projects plans step by step simplify even the most complex designs.
- Each project caters to a unique lifestyle, from urban minimalism to eco-friendly living.
- Essential tools and clear instructions are key to achieving success.
- Advanced techniques can elevate your projects and boost profitability.
- Real-life success stories prove that passion and persistence pay off.
- Both free and premium woodworking plans offer valuable guidance.
- Efficient planning and marketing strategies can transform your hobby into profit.
Conclusion
In conclusion, these 10 trendy woodworking projects demonstrate that creativity, practicality, and sustainability can coexist beautifully in any space. By following these detailed, step-by-step plans, you can build projects that not only enhance your home but also provide a great sense of accomplishment. Furthermore, these projects cater to every lifestyle—from the urban minimalist to the eco-friendly innovator. Whether you are a beginner or an experienced craftsman, each project offers an opportunity to refine your skills and bring your vision to life.
As you continue to explore these projects, remember that each step you take is a building block toward mastering your craft. Moreover, integrating practical tips and advanced techniques can help you achieve professional-quality results while staying true to your personal style.
Deeper Tutorial Tie-In: As you grow more confident in your woodworking skills, consider leveraging Ted’s Woodworking plans for even more advanced projects. Their extensive collection of detailed plans has helped many transform their woodworking hobby into a profitable venture. Discover Ted’s Woodworking here.
FAQs
Q1: What are the benefits of following woodworking projects plans step by step?
A: Following detailed plans ensures accuracy, minimizes mistakes, and helps you achieve professional results while saving time and resources.
Q2: Are these projects suitable for beginners?
A: Yes, each project includes comprehensive instructions and essential tips, making them accessible even for those new to woodworking.
Q3: Can I customize these projects to fit my home decor?
A: Absolutely! These projects are designed to be flexible, allowing you to adjust dimensions, finishes, and designs to match your unique style.
Q4: What tools do I need for these woodworking projects?
A: Essential tools include saws, drills, sanders, measuring tapes, and specialized equipment like routers for advanced techniques.
Q5: How can I turn my woodworking hobby into a profitable business?
A: By focusing on projects that sell well, optimizing your workflow, and marketing your creations effectively, you can transform your passion into profit.
We Want Your Feedback!
Your thoughts and experiences are invaluable to us! What project resonated with you the most? Have you tried any of these step-by-step woodworking projects? Please share your feedback in the comments and consider sharing this post with fellow woodworking enthusiasts. How do you personalize your projects to reflect your lifestyle? Let us know below!
References
- Popular Woodworking – Expert insights on modern diy techniques and project planning.
- This Old House – In-depth review of cost-effective materials and step-by-step woodworking instructions.
- Wood Magazine – Sustainable diy projects and innovative woodworking ideas for every lifestyle.